Thursday, November 7, 2024
Building a lean-to shed for extra storage space
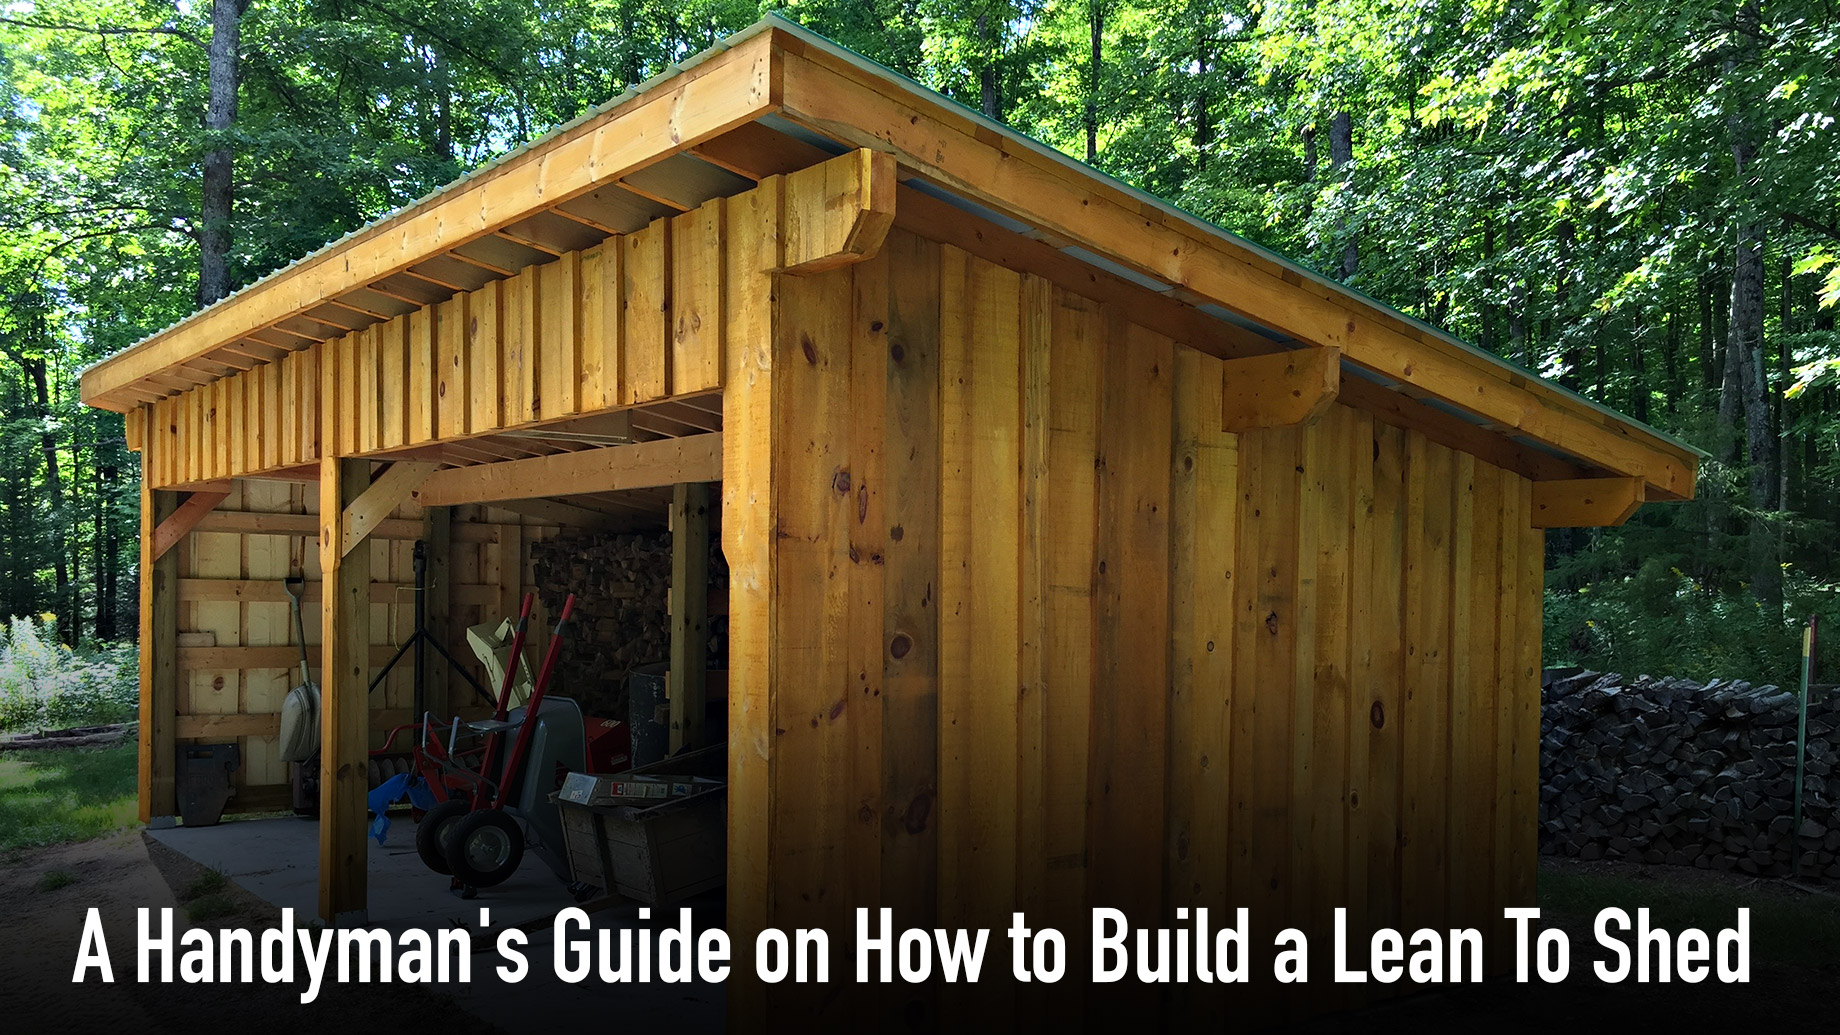
Hey there, DIYers! Feeling cramped? Tired of tripping over that mountain of garden tools? Well, buckle up because we're about to tackle a project that'll give you the extra storage space you've been dreaming of: building a lean-to shed!
Now, don't be intimidated by the word "building." We're not talking about constructing a skyscraper here. A lean-to shed is basically a roof attached to an existing structure, like your house or garage. It's a simple design that's perfect for beginners, and trust me, the satisfaction of seeing it come together is immense.
So, grab your tools, put on your favorite playlist, and let's get this shed built!
Step 1: Planning and Design
Before you start throwing wood around like a lumberjack, it's essential to plan. The first step is figuring out where your lean-to will go. Think about how much space you need, where the sun hits during different times of the day (you don't want your precious tools baking in the summer sun), and what you'll be storing in it.
Next up, design! Grab a pencil, paper, and maybe even some graph paper if you're feeling ambitious. You'll want to sketch out the basic dimensions of your lean-to. How tall should it be? How wide? What slope do you want for the roof? Don't worry about getting everything perfect at this stage, just get your ideas on paper.
Step 2: Getting the Materials
With your design in hand, it's time to hit the hardware store! The materials you'll need depend on the size and style of your lean-to, but here's a general list to get you started:
Lumber: You'll need pressure-treated lumber for the base and framing, as it's resistant to rot and decay. Calculate the amount of lumber needed based on your design.
Roofing: Shingles, metal, or even recycled materials can be used for the roof. Think about what fits your style and budget.
Fasteners: You'll need screws, nails, and maybe even some construction adhesive for a secure build.
Flashing: This is essential for preventing water damage around the roof edges and where it meets the existing structure.
Building paper: This acts as a moisture barrier beneath your roofing material.
Optional: Door hardware, windows, paint, trim, and insulation (if you're planning to use the shed in the winter).
Step 3: Foundation Time
A solid foundation is crucial for any building, even a lean-to shed. For a simple lean-to, you can use concrete blocks or pressure-treated lumber placed on gravel or concrete. If you're going with lumber, make sure the beams are level and sturdy.
Step 4: Framing Up the Walls
Once your foundation is set, you can start framing the walls. Use pressure-treated lumber to create the vertical supports, and attach them securely to the foundation. Remember to check for squareness at every corner!
Step 5: Building the Roof
This is where things get a little more interesting. You'll need to build a frame for the roof, using rafters that slope towards the back. Attach these rafters to the wall frames, and make sure they're properly supported with additional beams as needed.
Step 6: Sheathing the Roof
Before you start laying down your roofing material, you need to sheathe the roof. Sheathing is basically a layer of plywood or OSB boards that provide a solid surface for the roof. Attach the sheathing securely to the rafters, ensuring it's level and flush.
Step 7: Laying the Roofing
Time to get your roofing material! Whether you're using shingles, metal, or something else, follow the manufacturer's instructions for installation. Start at the bottom and work your way up, overlapping each row to create a watertight seal. Don't forget to add flashing around the edges and at any transitions.
Step 8: Finishing Touches
Congratulations! Your lean-to shed is almost complete! Now it's time to add the finishing touches:
Door and Windows: Install your door and any windows you want to add.
Trim: Give your shed a polished look by adding trim around the edges, windows, and doors.
Paint or Stain: Choose a color that complements your home or existing structures.
Step 9: Enjoy Your New Storage Space!
You did it! You've built a lean-to shed, and you've got a brand new space to organize and store all your stuff. Take a moment to appreciate your hard work, and enjoy the feeling of having everything neatly tucked away in your new storage haven.
Some Additional Tips
Don't be afraid to ask for help: Building a shed doesn't have to be a solo mission. Don't hesitate to enlist the help of friends or family members for extra hands (and maybe even a little moral support!).
Take your time: This is not a race. Take your time, work carefully, and enjoy the process.
Safety first: Always wear safety glasses and gloves, and be cautious when using power tools.
Have fun: Building a shed is a great way to unleash your inner DIYer and learn some valuable skills. So relax, put on some music, and have a good time!
And remember, building a lean-to shed is just the beginning. You can personalize it further with shelves, hooks, lighting, and even a workbench. The possibilities are endless, and the only limit is your imagination! So go forth, DIYers, and conquer that storage space!
No comments:
Post a Comment
Note: Only a member of this blog may post a comment.