Wednesday, November 6, 2024
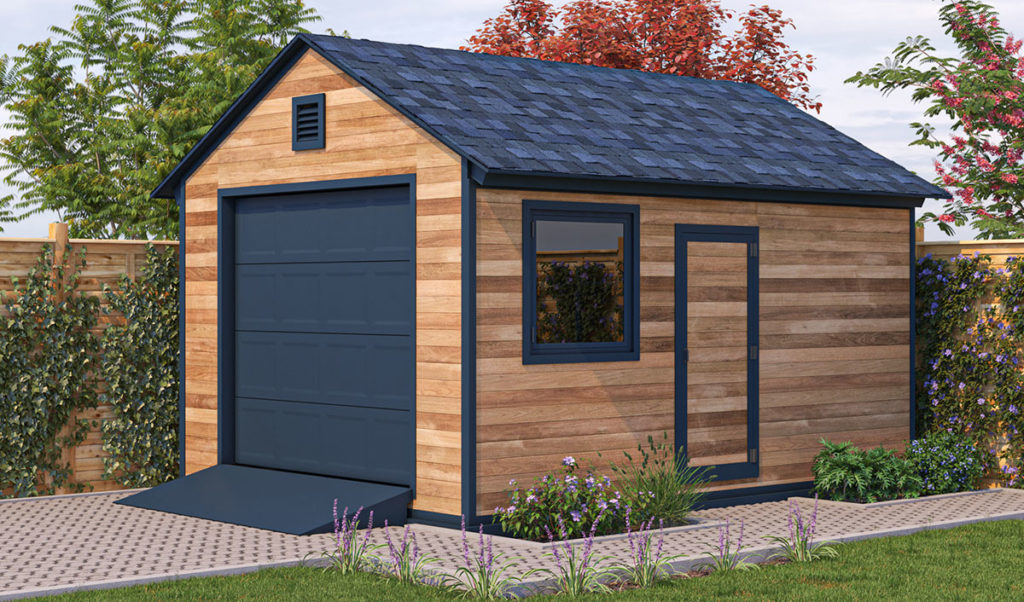
Building a shed: diy tips for a 12x16 structure

Hey there, fellow shed enthusiasts! So, you're ready to take on the exciting (and sometimes challenging) world of building your own 12x16 shed. You've got the dream, the tools, maybe a couple of friends, and maybe even a couple of beers â€" what's next? Let's dive into this DIY adventure together, step by step.
The Foundation: Your Shed's Base
First things first, your shed needs a solid foundation. Think of it like the bedrock of your DIY empire. You have a few options:
Concrete Slab: This is the most sturdy and long-lasting option, perfect for heavy sheds. It's a bit more work, but you'll thank yourself later.
Concrete Blocks: These are a budget-friendly alternative, especially if you're on a tight schedule. They offer good stability, too.
Pressure-Treated Wood: A simple and quick option, but make sure to use pressure-treated lumber that's specifically designed for ground contact to prevent rot.
Whatever you choose, make sure the foundation is level, plumb, and strong enough to support the weight of your shed. Remember, a solid foundation is key to a happy shed life!
Framing: Building the Bones of Your Shed
Now comes the fun part: building the frame! You'll need lumber, a level, measuring tape, saw, and a whole lot of patience. Let's break it down:
Floor Joists: Lay out your joists (usually 2x10s or 2x12s) on the foundation, spaced 16 inches apart. This gives you strength and stability.
Floor Sheathing: Attach plywood or OSB (oriented strand board) to the joists for your shed floor. Make sure it's securely fastened with nails or screws.
Wall Studs: Erect your wall studs (2x4s or 2x6s) at 16-inch intervals. You'll be using these as the framework for your walls.
Wall Bracing: Don't forget bracing! This keeps your walls strong and prevents them from bowing or warping. Use diagonal bracing between studs, or consider using plywood panels as sheathing for extra support.
Roof Trusses: For the roof, you'll need trusses, which can be pre-made or built yourself. They're designed to distribute weight and create a strong, angled structure.
Sheathing: Creating a Solid Base
Once your frame is up, it's time to sheathe the walls and roof. Think of it as adding muscle to your shed's bones. You'll need plywood or OSB again, but this time it's for the exterior.
Wall Sheathing: Fasten the plywood or OSB to your wall studs with nails or screws. Make sure it's flush with the frame for a smooth finish.
Roof Sheathing: Similarly, sheathe the roof trusses with plywood or OSB. This provides a solid base for shingles or your chosen roofing material.
Siding: Adding Style and Protection
Now, your shed is starting to look like a real structure! Time to choose your siding. You have many options, each with its own advantages and disadvantages:
Vinyl Siding: Low maintenance, weatherproof, and comes in various colors and styles.
Wood Siding: A classic choice, offering natural beauty and durability. But it requires regular maintenance like painting or staining.
Metal Siding: Durable, weatherproof, and often comes with warranties. It can be more expensive, but it offers excellent protection.
Roofing: Shielding Your Shed from the Elements
Your shed needs a roof to keep the weather out. You can choose from:
Asphalt Shingles: The most common choice, affordable, and easy to install.
Metal Roofing: Durable, weatherproof, and often comes with warranties.
Slate Roofing: A classic choice, offering durability and elegance.
Doors and Windows: Adding Functionality and Light
Time to add doors and windows! Choose doors that are easy to open and close, and windows that let in natural light. Consider adding extra security features like locks and hinges.
Finishing Touches: The Details That Make a Difference
Now you're in the home stretch! It's time to add the finishing touches that make your shed truly your own.
Painting or Staining: Give your shed a fresh coat of paint or stain to protect the wood and add some style.
Trim and Moulding: Add decorative trim and moulding to give your shed a polished look.
Interior Finish: Consider adding insulation, drywall, or paneling to your shed interior.
Electrical Work: If you plan to use electricity in your shed, make sure to run wires and install outlets and lights correctly.
Safety First: A Reminder of DIY Responsibility
Remember, building a shed is a serious undertaking. Always prioritize safety:
Use Proper Safety Gear: Wear safety glasses, gloves, and hearing protection.
Follow Instructions: Read all product instructions carefully before you begin.
Lift Properly: Use proper lifting techniques to avoid injury.
Work with a Buddy: Have a friend help you with heavier tasks.
Building Your Own Shed: A Sense of Accomplishment
Building a shed is a lot of work, but it's also an incredibly rewarding experience. You'll gain valuable skills, create something beautiful, and enjoy the satisfaction of knowing you built it yourself. Plus, you'll have a fantastic new space to enjoy in your backyard!
So, what are you waiting for? Get out there and start building! And remember, if you encounter any challenges along the way, don't be afraid to ask for help. The shed-building community is always happy to offer guidance and support.
No comments:
Post a Comment
Note: Only a member of this blog may post a comment.