Sunday, November 10, 2024
How to design your 8x12 shed on a tight budget

Alright, so you've decided you need a shed. Maybe you're tired of your garage looking like a disaster zone, or you want a dedicated space for your hobbies, or maybe you just want a little extra storage. Whatever the reason, an 8x12 shed is a great starting point. It's big enough to be useful, but not so big that it'll break the bank (unless you go crazy with the upgrades, that is).
The good news is, building a shed on a tight budget is totally doable! You just need to be smart about your choices and be willing to get your hands dirty.
Step 1: The Foundation - The Groundwork for Your Shed
Let's talk foundations. You have a few options, and the best one for you depends on your soil and budget.
Concrete Slab: This is the most expensive option but also the most durable. It's great for heavier sheds or if you plan on adding electricity or plumbing. If you're building on uneven ground, this is the way to go.
Concrete Piers: This is a good middle ground. You'll need to excavate and pour concrete piers at the corners and along the sides of the shed, and then build a wooden frame on top. This is a good option if you have soil that drains well.
Gravel Pad: This is the cheapest option. You'll need to excavate a level area and then lay down a thick layer of gravel. This works well for sheds that are lighter and won't be used for heavy storage. Just make sure you use landscape fabric to prevent weeds from growing up through the gravel.
Step 2: Framing - The Bones of Your Shed
Now for the fun part - the framing! This is where you can really start to see your shed taking shape.
Choosing Your Lumber: Opt for pressure-treated lumber for the bottom plates and any parts of the framing that will be in contact with the ground. This will help prevent rot. For the rest of the framing, you can use regular pine or fir.
Building the Walls: This is pretty straightforward. You'll use 2x4s to build the walls, using studs spaced 16 inches apart. Make sure you add a double top plate for extra strength.
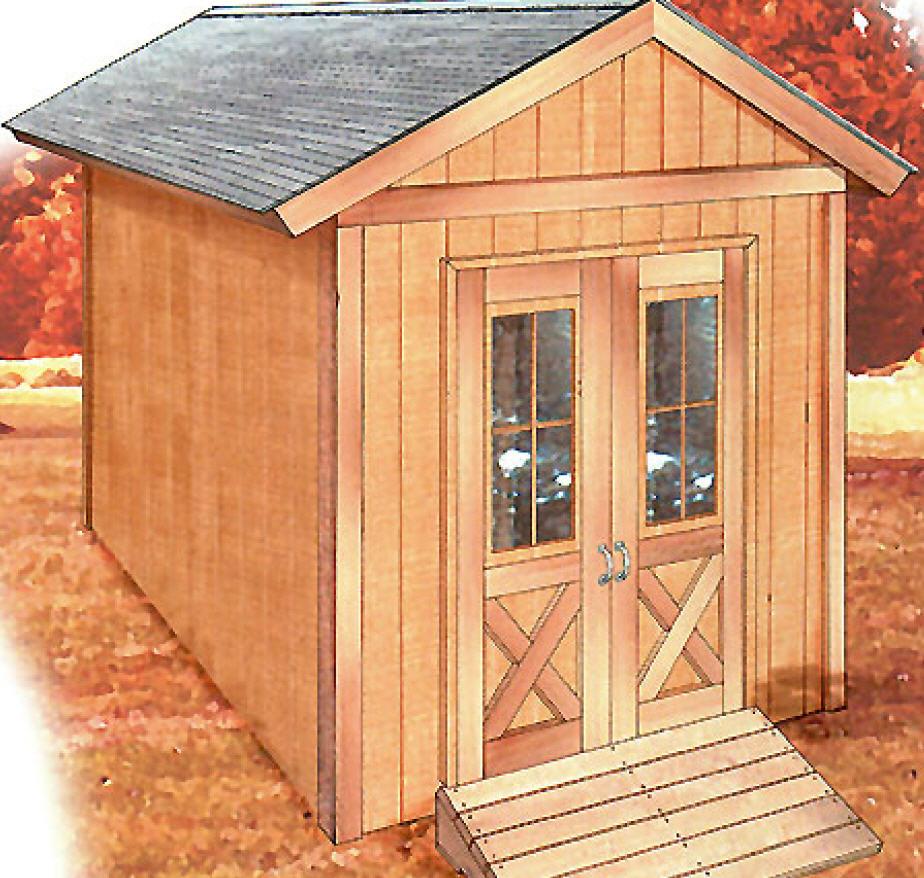
Building the Roof: There are two basic roof options: gable (a traditional A-frame) and shed (a simple sloped roof). Gable roofs are a bit more complicated to build, but they offer more headroom inside. Shed roofs are simpler and easier to build, but they have less headroom.
Step 3: Siding - The Skin of Your Shed
Once the framing is done, it's time to start thinking about the siding.
Cheap and Cheerful: Vinyl siding is the cheapest and most durable option. It comes in a wide variety of colors and styles, and it's easy to clean.
Rustic Charm: If you want a more rustic look, consider using wood siding like cedar or pine. This will require more maintenance, but it adds a lot of character.
Sustainable Choice: Recycled plastic siding is becoming increasingly popular, and it's a great sustainable option. It's durable, weather-resistant, and comes in a variety of colors.
Step 4: The Roof - Keeping the Elements Out
Now let's talk about the roof.
Shingles: Asphalt shingles are the most popular choice, and they're a good balance of price and performance. You can also get architectural shingles for a more upscale look.
Metal Roofing: If you're in a snowy climate, metal roofing is a great option. It's durable, lightweight, and reflects heat, keeping your shed cooler in the summer.
DIY Flair: If you're feeling adventurous, you could even use salvaged materials like corrugated metal or wood shakes to create a unique roof.
Step 5: Windows and Doors - Letting in the Light (and Keeping Things Out)
Now for the finishing touches - windows and doors.
Window Choices: Simple, small windows are often enough for sheds, but consider adding a larger window if you plan to use the shed for hobbies or a workspace.
Door Decisions: Single doors are the most common, but if you're using the shed for a vehicle or large items, you might need a double door.
Step 6: Interior and Extras - Adding Your Personal Touch
Now that the structure is done, it's time to add your personal touch.
Flooring: Concrete is the most durable option, but you can also use wood or even composite flooring for a more finished look.
Shelving: This is a must-have for any shed. You can build your own shelves, or buy pre-made units.
Electrical: If you plan on using your shed for work or hobbies, it's a good idea to add electricity. You'll need to hire a licensed electrician for this.
Step 7: Painting and Finishing - The Final Touches
Finally, it's time to add the finishing touches - paint and sealant.
Painting: A good coat of paint will protect your shed from the elements and make it look great. Choose a paint that's specifically designed for exterior use.
Sealant: A sealant will help prevent water damage and protect your shed from the weather.
Building Your Dream Shed: A Recap
Building a shed on a tight budget is all about making smart choices. You can save money by using recycled materials, doing the work yourself, and choosing simple designs. But don't forget to factor in the cost of tools and materials, and don't be afraid to ask for help if you need it.
Building a shed is a great way to add value to your property and create a useful space for your needs. You'll be surprised at what you can accomplish with a little bit of effort and a whole lot of creativity!
No comments:
Post a Comment
Note: Only a member of this blog may post a comment.